As an Amazon Associate, I earn from qualifying purchases. In addition, I participate in several other affiliate programs that allow me to earn while I recommend products I love.
These soft and chewy chocolate chip cookies are adapted from the original Nestle Tollhouse chocolate chip cookie recipe, and are so incredibly soft that you won’t need any other cookie recipes after this one.
There are no crazy ingredients, and I’ve left out the nuts because I don’t like nuts in my chocolate chip cookies – purist over here.

Just good old fashioned ingredients like brown sugar, granulated sugar and baking soda, and a bit of magic that comes from taking them out before they look too browned.
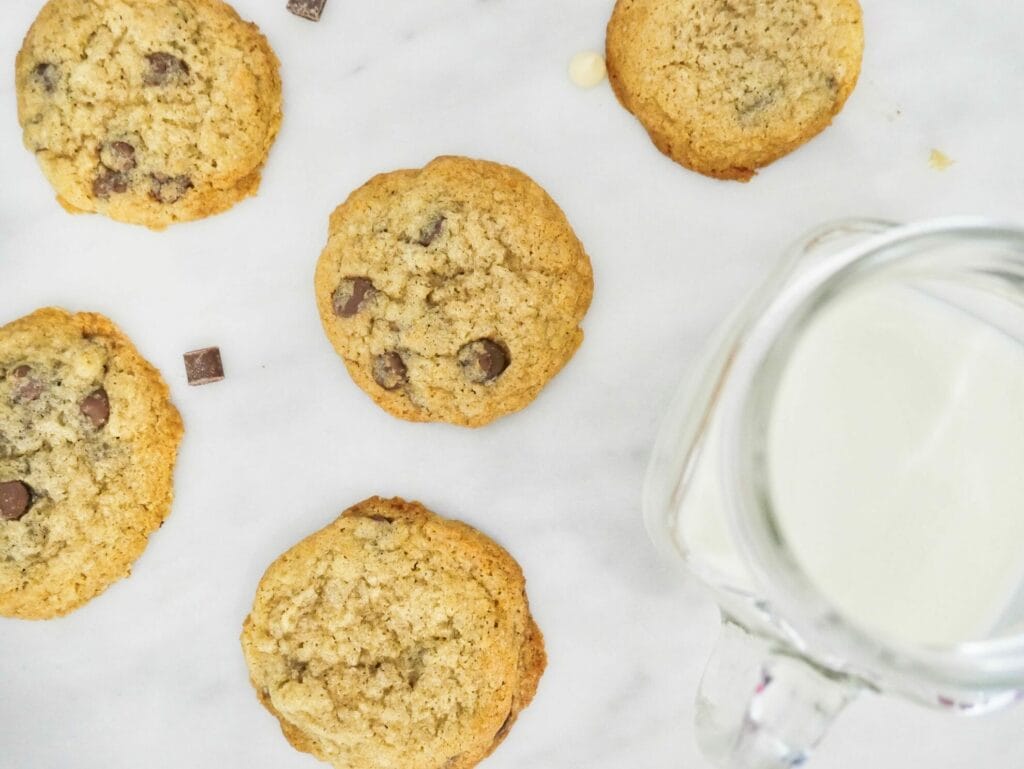
Chocolate chip cookies can be a point of contention among families, as some people like them crispy, some chewy, some thick, some thin, but these are the golden standard of chocolate chip cookies that will make everyone happy.
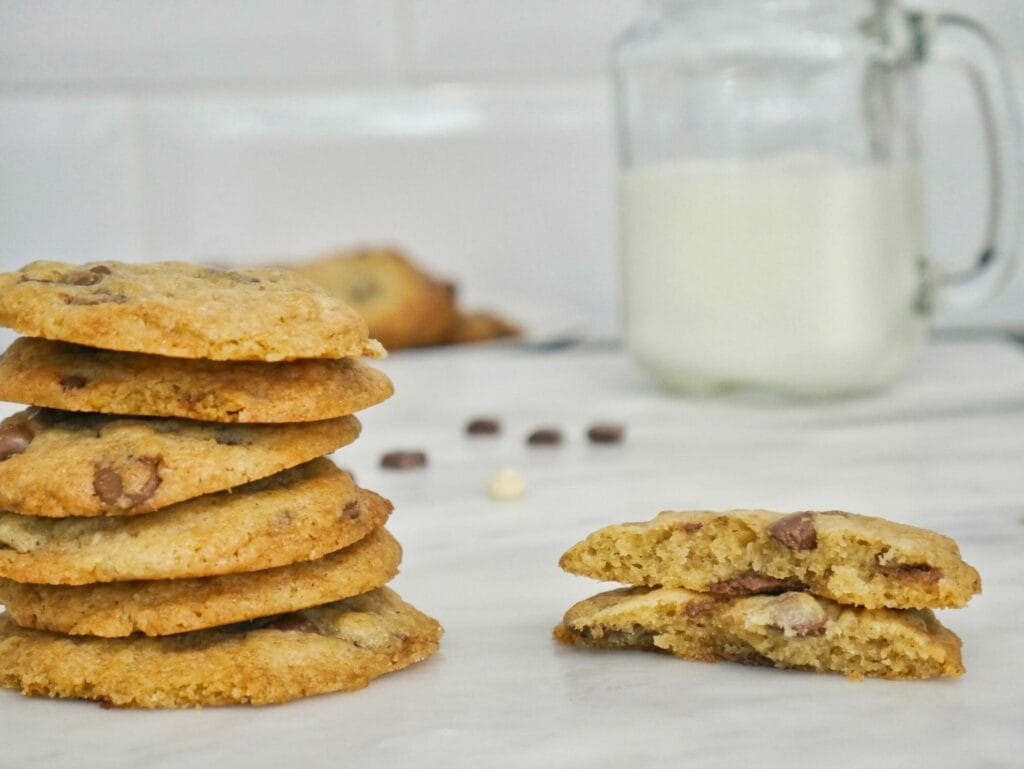
The only problem with this chocolate chip cookie recipe is that they go fast once they hit the plate!
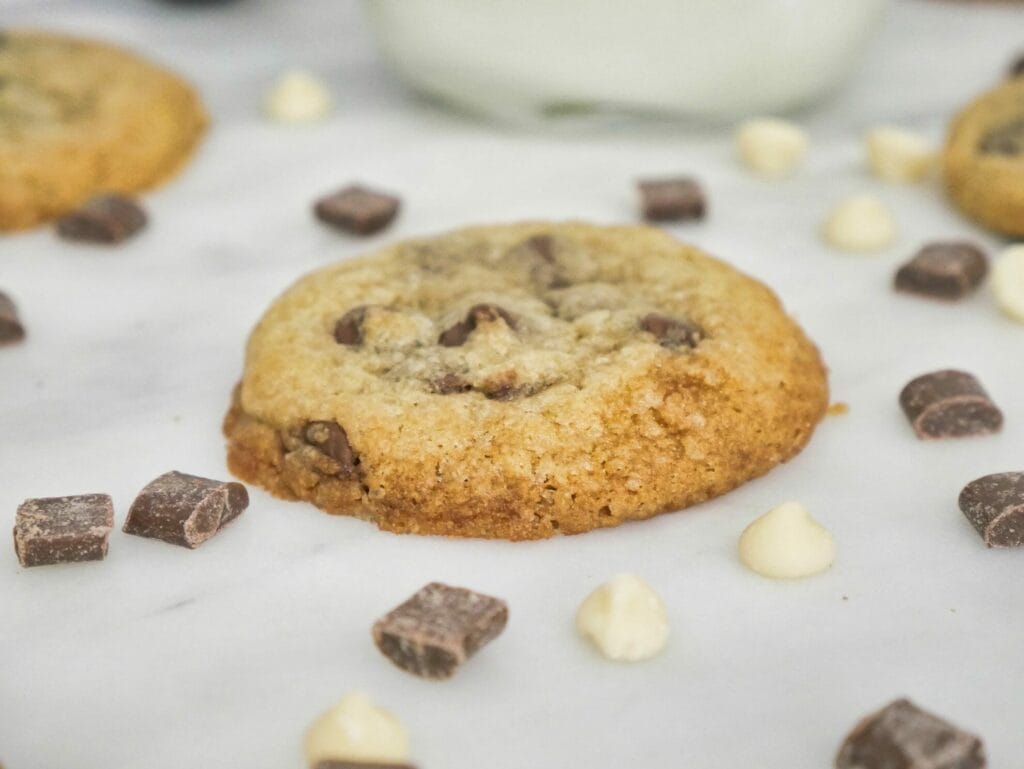
These chocolate chip cookies are:
- easy to make with no chilling required
- deliciously soft and chewy
- quick to bake at just under 10 minutes
- made with classic flavors that most people love
- ready to eat as soon as you make them
If you want to experiment with baking, I’d really recommend starting with these and then adding in and taking out different ingredients to see how they affect the recipe so you can understand the mechanics of baking more.
One thing I would say is that to make them as chewy and soft as possible, I always take them out before they appear to be done.
Obviously I don’t want them looking completely raw, but once they look set and the edges have gone a golden brown, I take them out.
They will continue to set and get firm as the cool on the wire rack, but this makes sure they retain their softness that you won’t get if you wait for them to look 100% done in the oven.
And don’t be afraid to adapt this chocolate chip cookie recipe by adding in your own kind of favorite chocolate chips like white chocolate chips or adding in nuts or even something a bit more out there like crushed up pretzels for chocolate chip pretzel cookies.
Can You Freeze Chocolate Chip Cookies?
If you’re not going to eat all of the cookies in the next 5-7 days, then you can always freeze them.
I like to put them in an airtight container in the freezer or I individually wrap them and then freeze.
In the freezer, they’ll last for about 3 months (though they never last that long in our house, let’s be honest).

Should You Refrigerate Chocolate Chip Cookie Sandwiches?
You can refrigerate chocolate chip cookies if you prefer them cold, but I like to enjoy them room temperature so I leave them in an airtight container on the kitchen counter.
You can leave them at room temperature for up to a week and they’ll still be great, but we find they are best the same day and next day after baking.
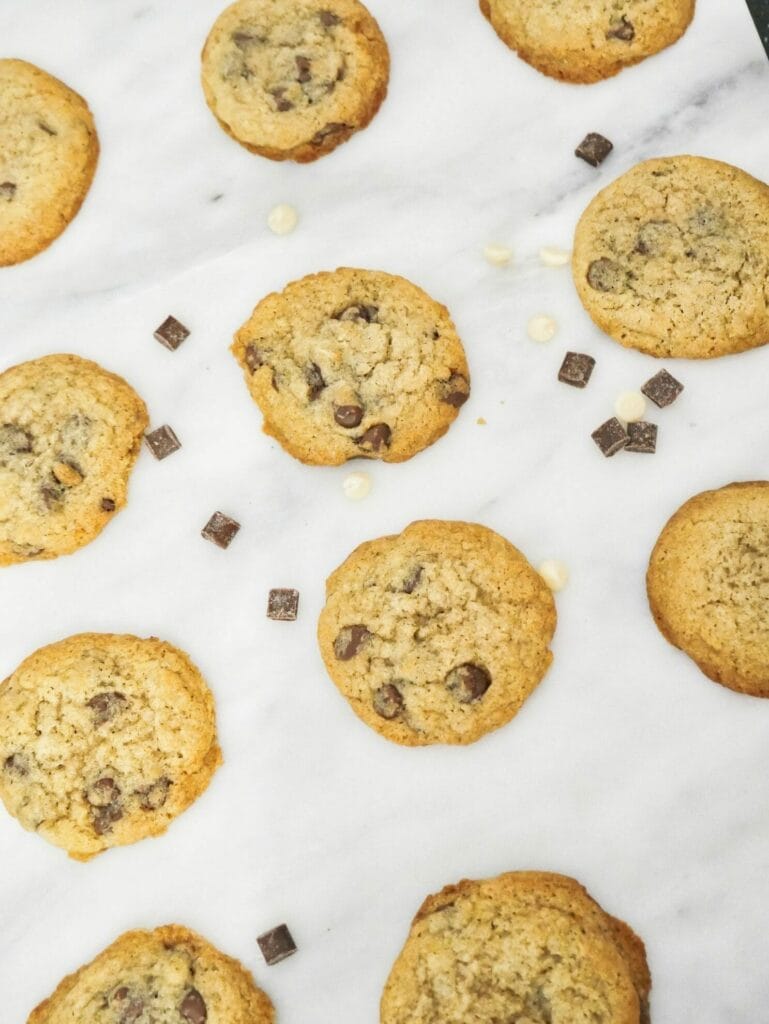
Do I Have to Use Milk Chocolate Chips?
You can get creative and use any kind of chocolate chips you want, whether that’s milk, dark, or white chocolate.
You can also add in nuts if you want nuts in your chocolate chip cookies, though I have to say that this is not a trend that I personally can get on board with.
Can You Decorate Chocolate Chip Cookies?
A lot of times, the fun in making cookies with kids is making cookies that you can decorate.
Chocolate chip cookies obviously don’t produce a nice decorating surface like a cut out sugar cookie, but you can go ahead and add buttercream frosting and sprinkles on top.
How to Make Chocolate Chip Cookies
Making this adapted Nestle Tollhouse chocolate chip cookie recipe is incredibly easy, and it doesn’t require any chilling or extra steps.
I have adapted the recipe to make around 30 cookies, but you can double it to make 5 dozen or change it around to fit your purpose.
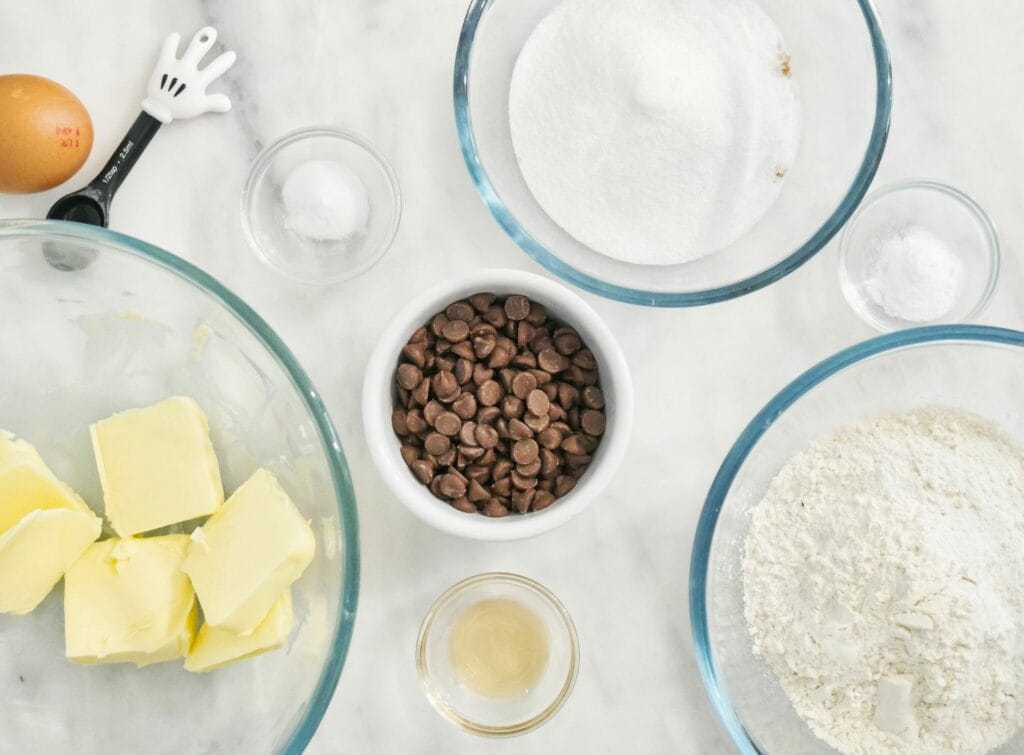
Firstly, you’re going to combine the flour, baking soda, and salt in a separate bowl.
You can sift them together to make for even distribution of ingredients, but you don’t need to.
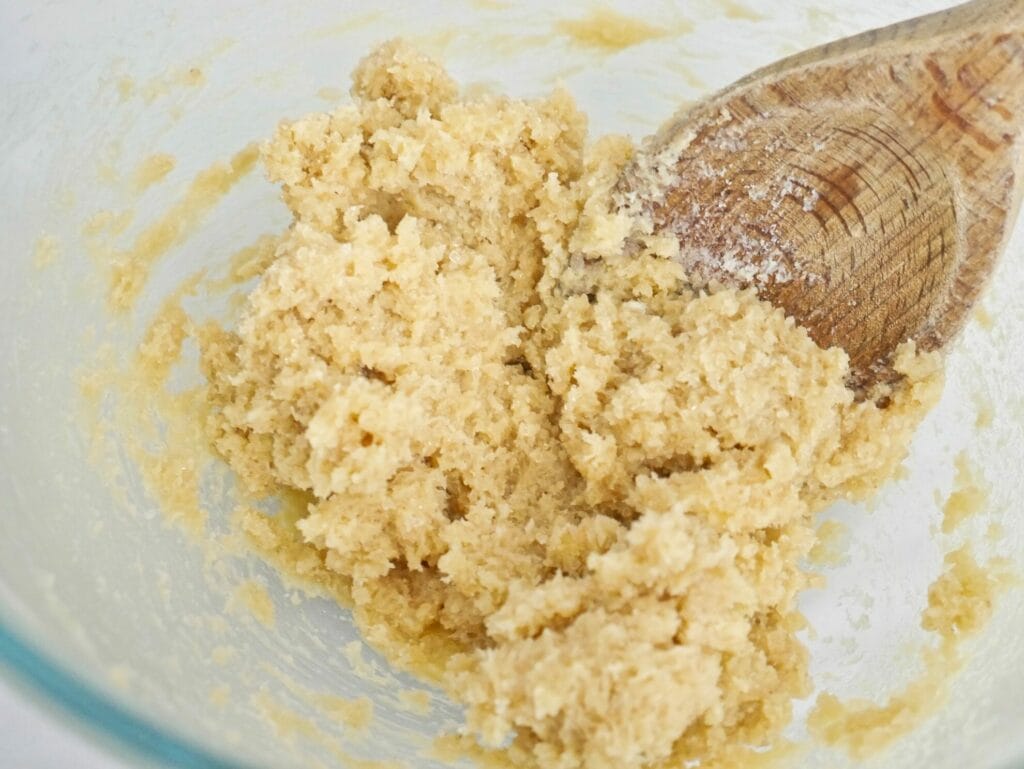
Next, in a larger bowl, use softened butter and cream it with the brown sugar and white sugar.
You can do this with an electric mixer, or with some elbow grease and a wooden spoon. I like to cut up the butter to start to make it even easier to work with.

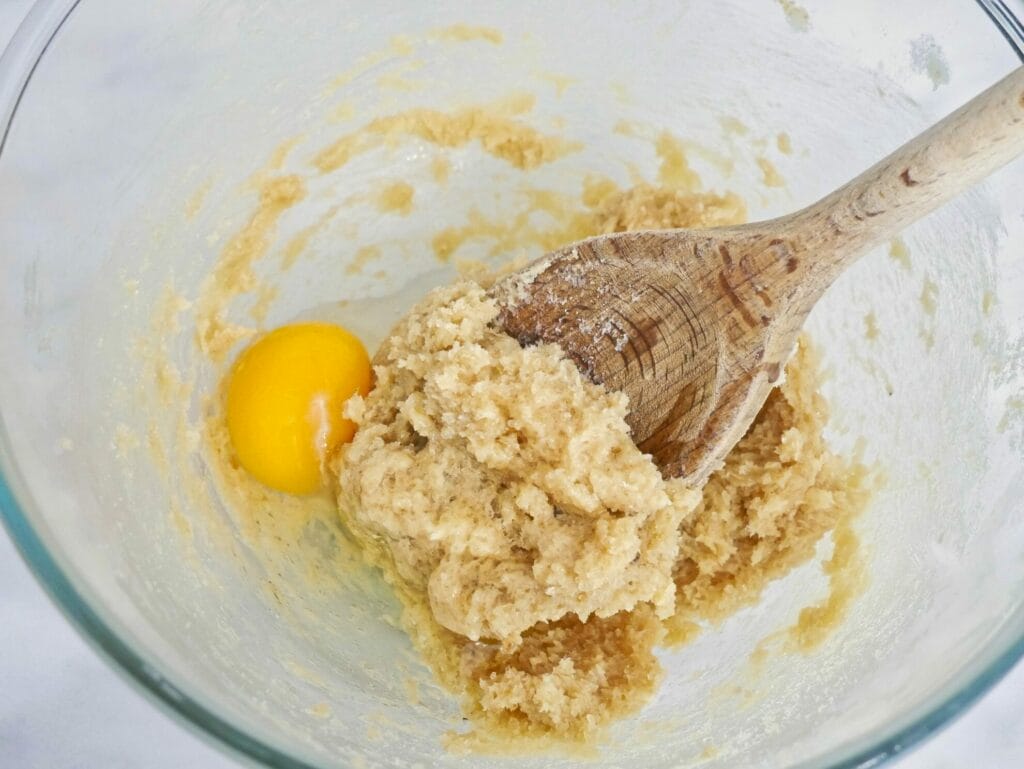
Once you’ve creamed this mixture together, add in the vanilla and one egg.
Mix until combined, but don’t beat the egg too much.
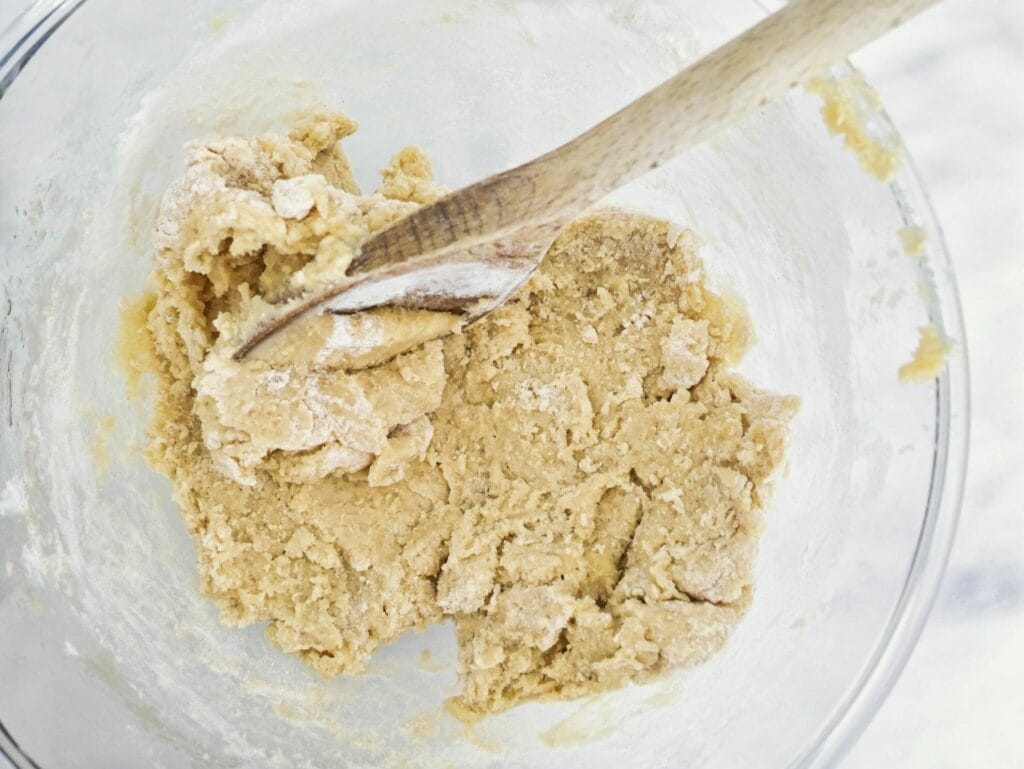
Now it’s time to add in the flour mixture to the butter, but do this gradually instead of dumping it all in at once.
Again, don’t overmix this – just get the ingredients combined fully.
Finally, to finish the batter, add in the chocolate chips.
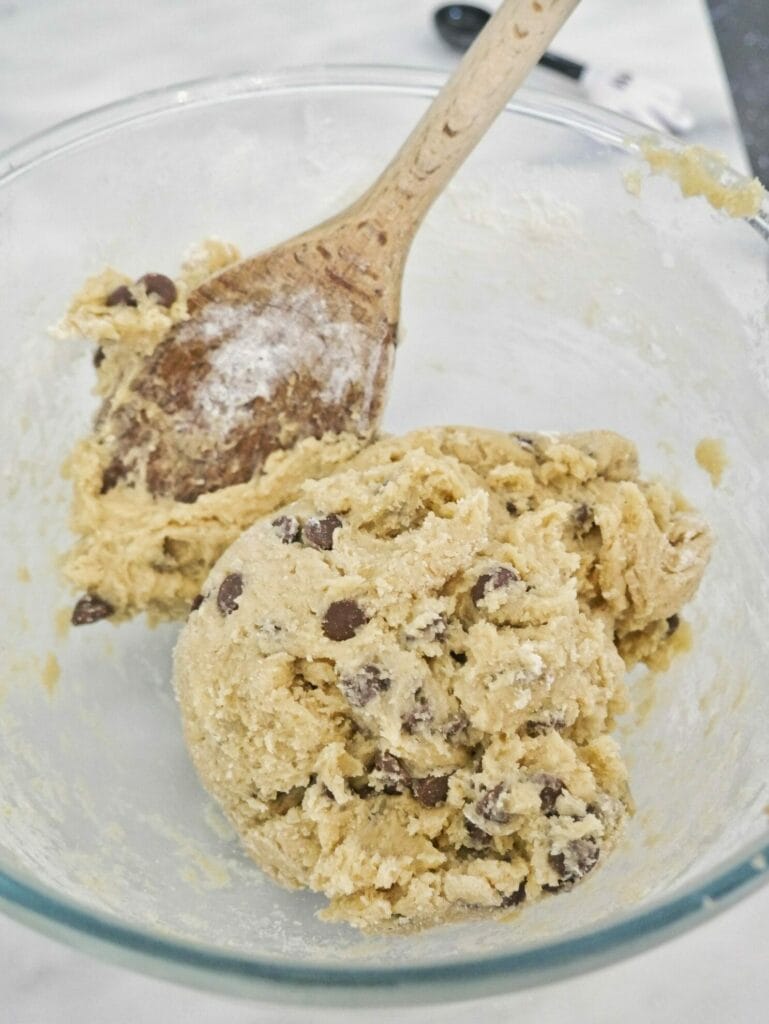
When you’re ready to put them in the oven (preheated to 375 F), spoon them out onto a greased baking sheet or these nifty silicone baking mats in tablespoon portions.
I found that going smaller was a bit better with these.
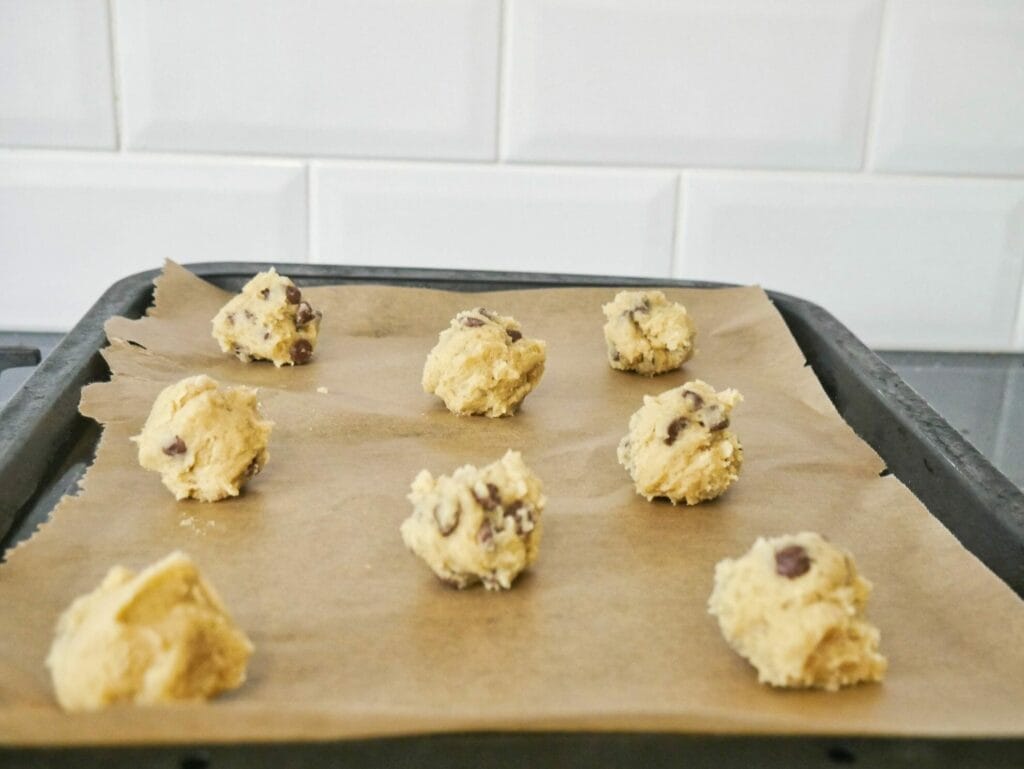
The dough will be sticky, but you should still be able to roll the balls if you want to make them look extra pretty.
Finally, bake for 8 to 10 minutes, keeping an eye on the edges.
When the edges have gone a light golden brown and the cookies look generally set, take them out and let them stand on the baking tray for a couple of minutes.

Let them cool on a wire rack and enjoy!
