As an Amazon Associate, I earn from qualifying purchases. In addition, I participate in several other affiliate programs that allow me to earn while I recommend products I love.
These moon and star cookies are perfect for a baby shower gift or a child’s birthday party, as they are super cute, delicious, and really easy to make even if you’re a beginner with royal icing.
There’s something about the moon and star motif that’s really comforting, and I tried to keep the tones of these cookies turned down so they were vibrant, but not so “in your face.”
A bit of shading to the moons gives you a little bit of depth to the cookies, and of course the sleepy faces on the stars adds an extra touch.
In this tutorial for moon and star shaped cookies, I’m going to walk you step by step through what you will need, how to make them, and how to decorate these moon and star sugar cookies.
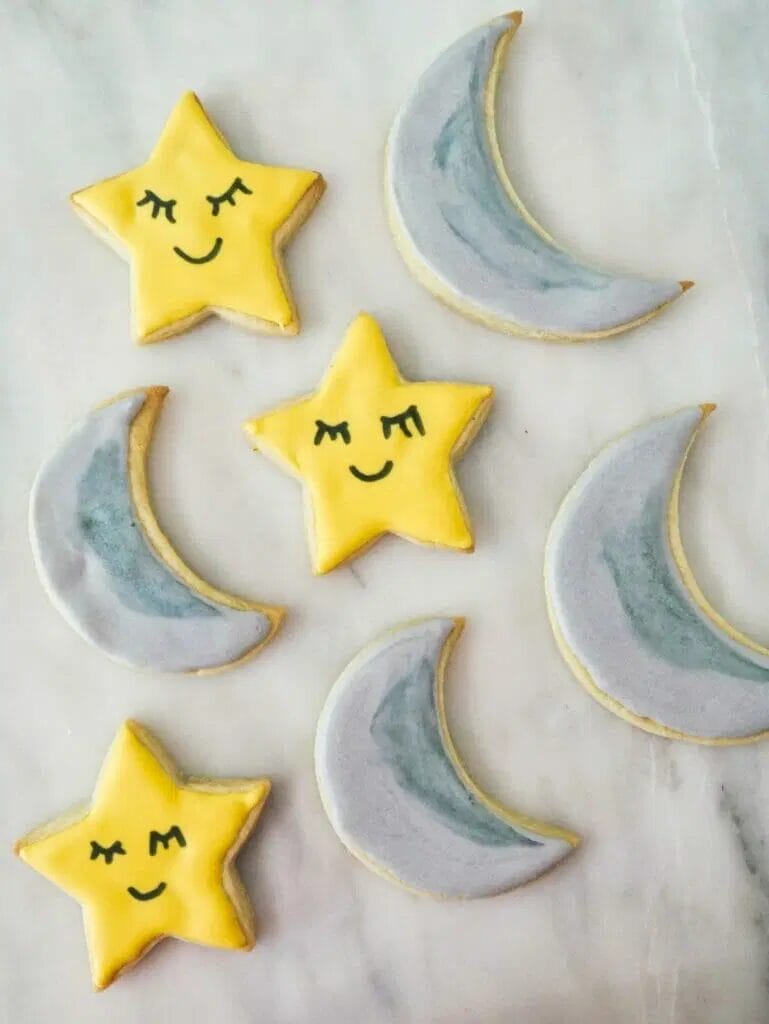
These moon and star cookies are:
- really easy to make
- a big hit at moon and star themed baby showers and kid’s birthday parties
- super tasty
- sturdy and soft, not crumbly
What You’ll Need to Make Decorated Moon and Star Cookies
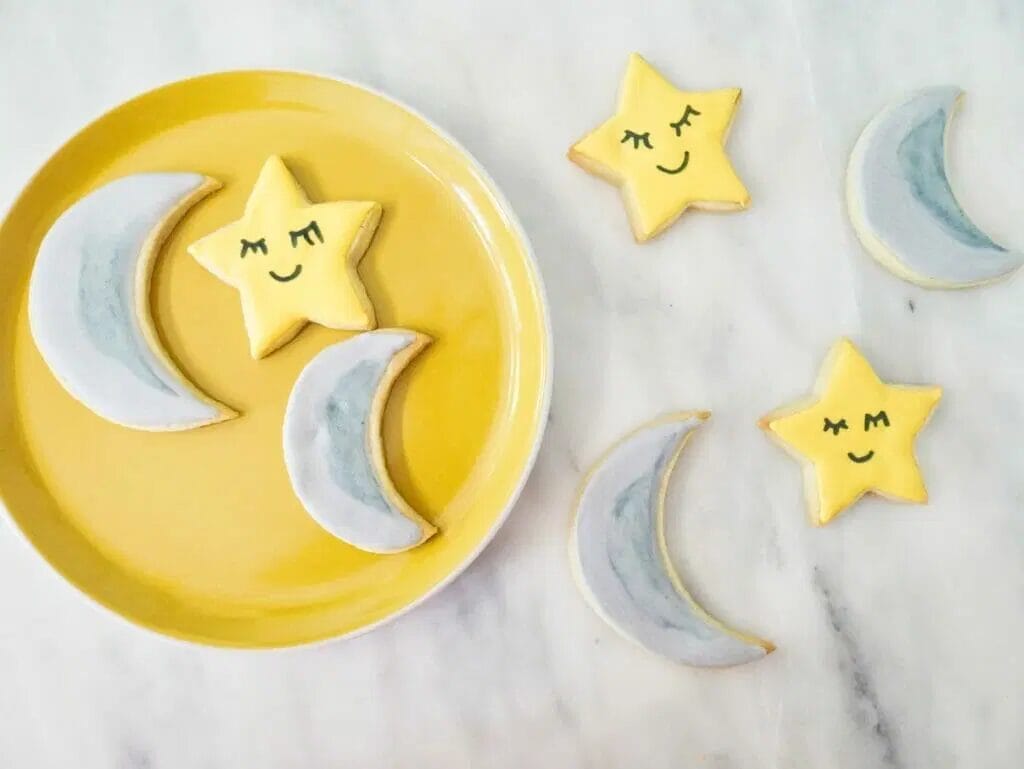
Making these moon and star shaped cookies requires both the cut-out sugar cookie base, as well as royal icing.
To make the sugar cookie base, you’ll want to follow the instructions and get the ingredients off of the cut-out sugar cookie recipe, which include granulated sugar, flour, butter, eggs, powdered sugar, vanilla extract, salt and baking powder.
For royal icing, make sure to follow my royal icing recipe.
Note that I use meringue powder in my royal icing, not egg whites, as this allows them to be safe for everyone to eat including pregnant women and I find it easier to work with.
As for the tools and colors you’ll need, I recommend:
- black food coloring – gel food coloring like this is better than liquid food coloring
- yellow food coloring
- edible black food marker – this is a great one
- piping bags – I prefer this brand
- a scribe or toothpick – this scribe is the best
- moon and star cookie cutter (or a circle cookie cutter for the moon) – find star cutters here
Can I Make Substitutions?
Baking is a science, not an art, which means that making substitutions in the recipes are always advised against.
It is possible, but you should be knowledgeable about baking before doing so, or look for a specific sugar cookie recipe that fits your dietary needs.
You don’t necessarily have to use sugar cookies, but you need a no-spread cookie that will have a mostly flat top, so something like chocolate chip cookies wouldn’t work to decorate on top of with precision.
If you want to add in extra flavors to the royal icing like lemon juice, you can definitely do that.
How to Make Moon and Star Shaped Cookies
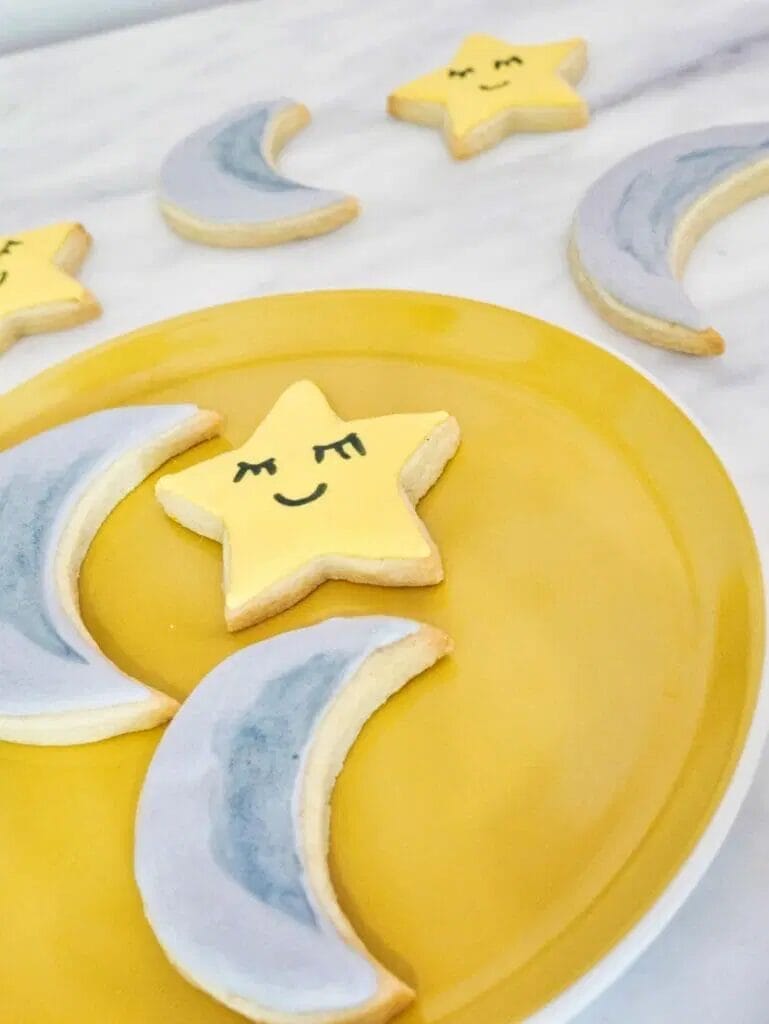
Before you can decorate the moon and star cookies, you’re going to want to follow the sugar cookie cut-out recipe to make the bases.
The dough is best chilled overnight, and make sure to follow the instructions throughout on refrigerating it, as this helps it avoid spreading.
You want nice and crisp edges on your cookies.
Remember that baking is a science, not an art, so you’re going to want to do things in the right order as well.
You can’t just throw in the flour and sugar and butter all in one go and hope for the best.
When it comes time to cut out the cookies, you can use star cookie cutters which are really easy to find, and if you don’t want to buy a separate moon cookie cutter, just use a regular circle one.
Cut out the circle, then use the same cookie cutter to cut a moon out of the circle and reuse the rest of the scraps into your dough.
I bake the cookies for about 8 minutes, taking them out before they are too golden on the edges as they will continue to harden after you take them out.
How to Make Royal Icing for Moon and Star Cookies
The second and most important step is to get the royal icing ready for the cookies.
Royal icing is easy to work with once you practice, and if you do it right, it will create a really smooth finish that bakers love.
Use the royal icing recipe to make the royal icing.
Instead of doing two different consistencies, I prefer to use one for these cookies since they don’t have any detailing on top that you need stiffer icing for.
The consistency I use is 10-12 seconds, which means that if you run a knife through the icing, it will take 10-12 seconds for the line to disappear (seriously, count it out!).
This gives a royal icing that is easy enough to work with and doesn’t run too much risk of completely flowing everywhere if you’re careful.
Make one batch of royal icing and separate it into two separate bowls to color it with black and yellow food coloring.
Grey can be achieved with a little bit of black food coloring, and obviously the yellow is up to you as to how much you include.
Fill the piping bags with icing (I don’t use tips, just tipless piping bags), and you’re to roll.
How to Decorate Moon and Star Sugar Cookies with Royal Icing
Time to decorate!
For the moon shaped cookies, use your grey icing to outline the moon, and then immediately fill it in with icing.
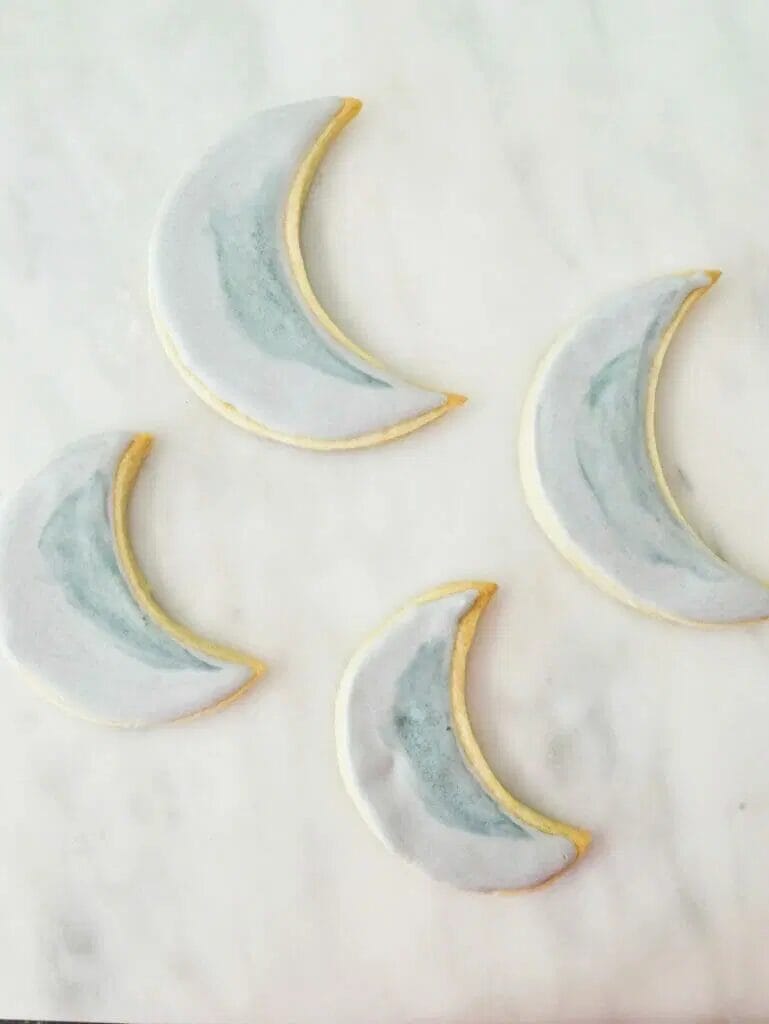
Shake it a little to get the icing to settle, and then leave it to dry for a few hours.
After it’s dry enough to use a marker on, draw a circle on the side, and then use a slightly damp paper towel to spread the marker and create a bit of shading.
For the star cookies, outline in yellow and then immediately fill with yellow icing.
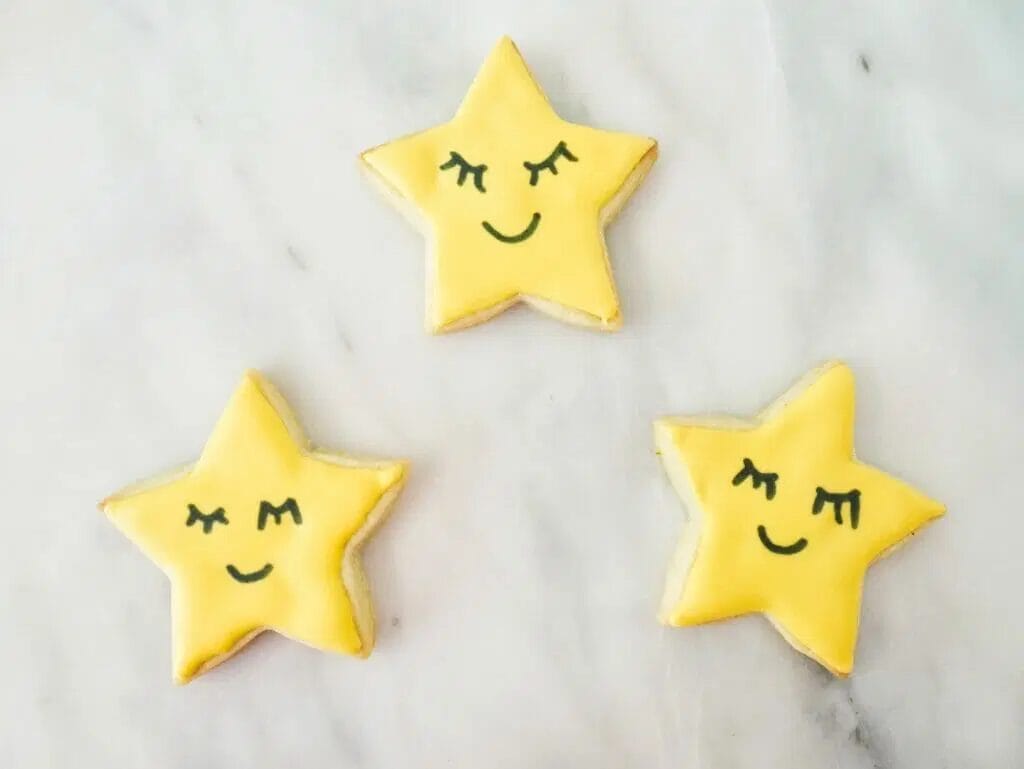
Let dry completely, and, when dry, create these cute sleepy faces with a marker!
And that’s all done – use as many different shades of color as you want, and enjoy!
