As an Amazon Associate, I earn from qualifying purchases. In addition, I participate in several other affiliate programs that allow me to earn while I recommend products I love.
There’s something undeniably delightful about sipping on a creamy and flavorful milkshake.
While blenders are often used to achieve that perfect consistency, what if you don’t have one on hand?
Fear not! In this blog post, we’ll explore the art of making milkshakes without a blender.
Whether you’re looking for accessibility, convenience, or just want to try something new, these methods will help you create deliciously smooth milkshakes right at home (and check out our quotes about milkshakes too!)
Why Make a Milkshake Without a Blender?
Blenders are fantastic for making milkshakes, but there are a few reasons why you might want to explore alternative methods.
Accessibility and Convenience: milkshake without blender
Not everyone has a blender readily available in their kitchen.
Making a milkshake without a blender allows you to indulge in this delightful treat without needing any specialized equipment.
You can whip up a milkshake whenever the craving strikes, regardless of whether you have a blender or not.
Making Do with Limited Resources
Maybe your blender is out of commission, or you’re on vacation and don’t have access to one.
These methods will come in handy when you need to improvise and still satisfy your milkshake craving.
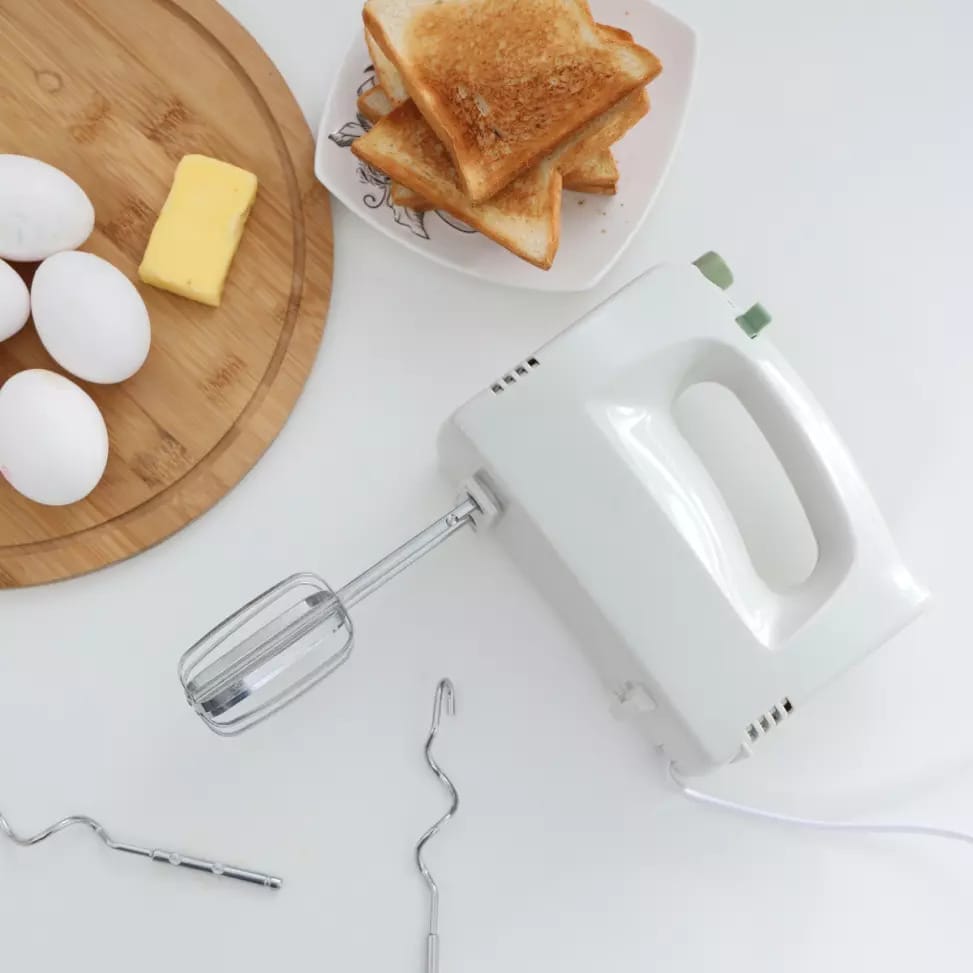
They require common kitchen tools that most people have, such as a mason jar, whisk, or hand mixer.
Maintaining Control over Consistency and Texture
By using alternative methods, you have more control over the final texture of your milkshake.
Some people prefer a thick and creamy milkshake, while others like it lighter and frothier.
With these methods, you can customize the level of creaminess and ensure it’s just the way you like it.
Method 1: Mason Jar Shake
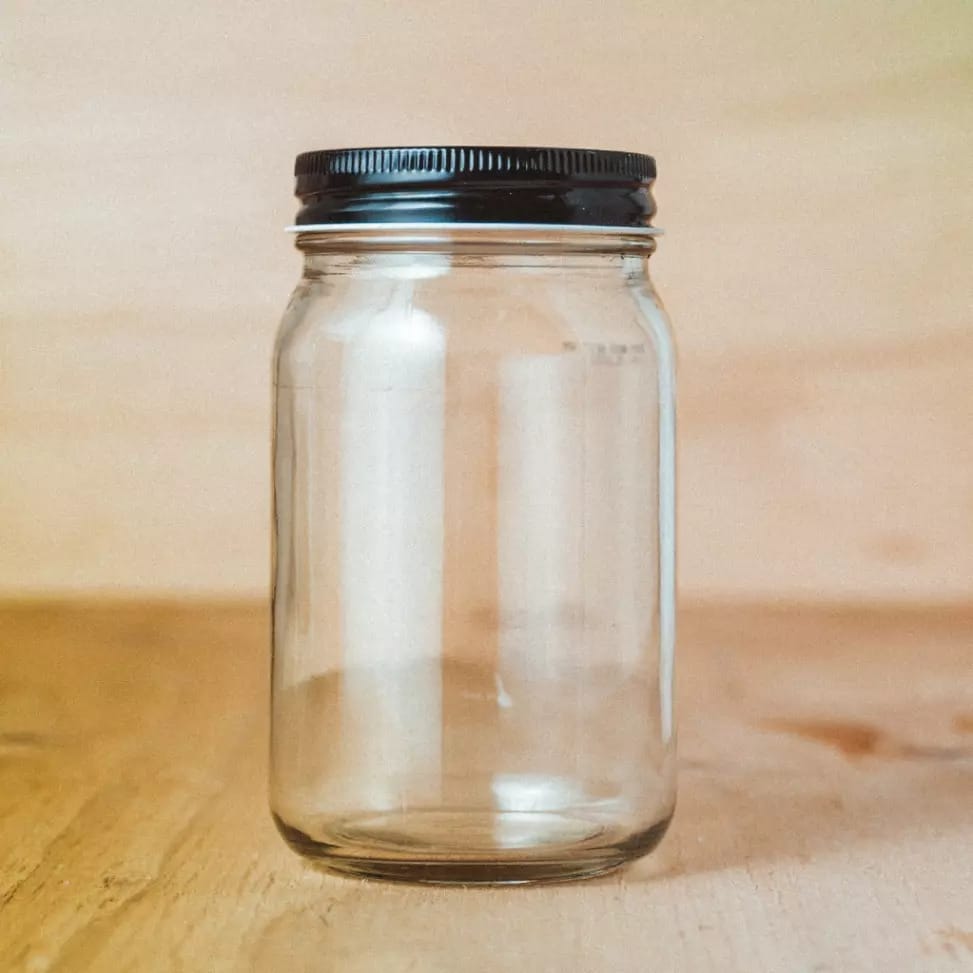
For this method, all you need is a mason jar, a tight-fitting lid, and a little bit of muscle power.
It’s a simple and effective way to achieve a creamy milkshake.
Ingredients:
- 2 cups of ice cream (your choice of flavor)
- 1/2 to 1 cup of milk (adjust based on desired thickness)
- Optional: Flavorings or mix-ins like chocolate syrup, vanilla extract, or crushed cookies
Step-by-Step Instructions:
- Add the desired amount of ice cream to the mason jar.
- Pour in the milk, starting with a smaller amount and adding more as needed.
- If desired, add flavorings or mix-ins to enhance the taste.
- Tightly screw on the lid of the mason jar.
- Shake vigorously for a few minutes, making sure the lid is secure.
- Check the consistency of the milkshake by giving it a gentle shake. If it’s too thick, add a little more milk and shake again.
- Once the milkshake reaches your desired consistency, remove the lid and pour it into a glass.
- Enjoy your homemade milkshake!
Method 2: Whisking by Hand (how to make a milkshake without blender)
If you have a whisk and a mixing bowl, you’re all set to whisk up a delicious milkshake.
This method allows you to incorporate air and create a frothy texture.
Ingredients:
- 2 cups of ice cream (your choice of flavor)
- 1/2 to 1 cup of milk (adjust based on desired thickness)
- Optional: Flavorings or mix-ins like cocoa powder, caramel sauce, or fresh fruits
Step-by-Step Instructions:
- In a mixing bowl, add the ice cream and pour in the milk.
- Use a whisk to vigorously mix the ice cream and milk together. Make wide, circular motions to incorporate air into the mixture and create a light and frothy texture.
- If desired, add flavorings or mix-ins to customize the taste of your milkshake. For example, cocoa powder for a chocolatey flavor or fresh fruits for a fruity twist.
- Continue whisking until the milkshake is smooth and well mixed. Take breaks to scrape down the sides of the bowl to ensure all the ingredients are well combined.
- Once the milkshake reaches your desired consistency, pour it into a glass.
- Sit back, relax, and enjoy your homemade milkshake!
Method 3: Using a Hand Mixer
A hand mixer provides an efficient way to achieve a smooth and creamy milkshake without a blender.
It helps incorporate air into the milkshake, resulting in a lighter and smoother consistency.
Ingredients:
- 2 cups of ice cream (your choice of flavor)
- 1/2 to 1 cup of milk (adjust based on desired thickness)
- Optional: Flavorings or mix-ins like peanut butter, Nutella, or crushed candies
Step-by-Step Instructions on how to make a shake without a blender:
- In a large mixing bowl, combine the ice cream and milk.
- Use a hand mixer on low to medium speed to blend the ingredients together. Start with a low speed to prevent splattering, then gradually increase the speed.
- Continue mixing until the milkshake is smooth and well combined. The hand mixer will incorporate air, creating a creamy and frothy texture.
- If desired, add flavorings or mix-ins to elevate the taste of your milkshake. For example, swirl in some peanut butter, Nutella, or sprinkle in crushed candies.
- Once the milkshake reaches your desired consistency, pour it into a glass.
- Savor the deliciousness of your homemade milkshake!
Alternative Ingredients and Flavor Variations
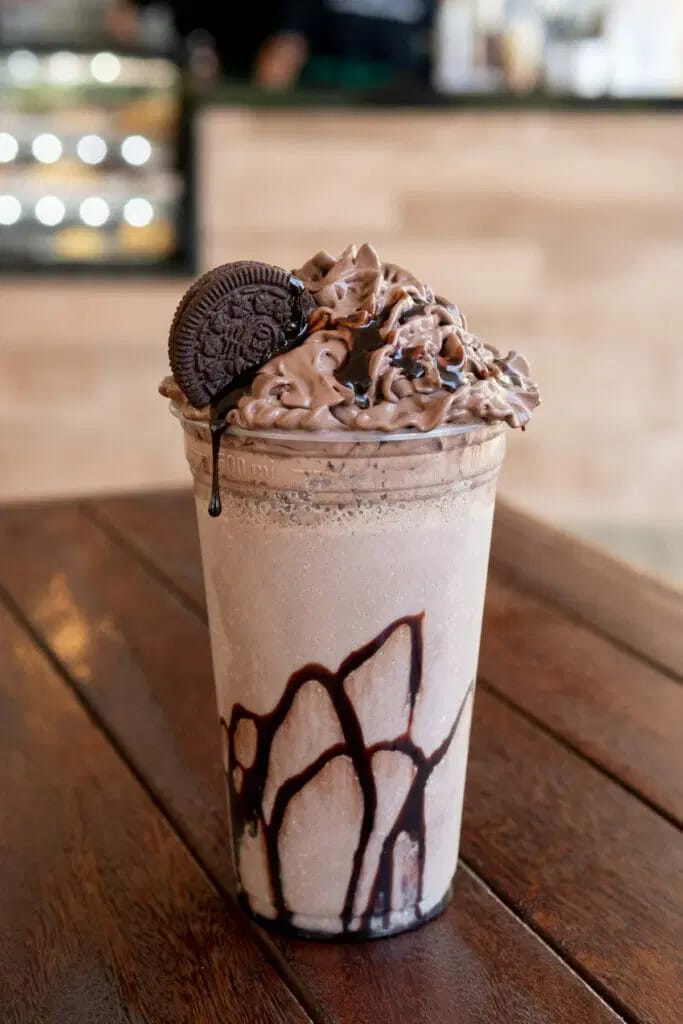
While traditional milkshakes are typically made with dairy ice cream and milk, you can experiment with various ingredients and flavors to suit your preferences.
Dairy-Free Options
Substitute dairy ice cream and milk with non-dairy alternatives like almond, coconut, or oat milk for a vegan or lactose-free milkshake.
These alternatives can still provide a creamy and delicious base for your milkshake.
Flavor Variations
Enhance your milkshake by adding fruits, cookies, or chocolate.
Blend in fresh or frozen fruits like strawberries, bananas, or mangoes for a burst of natural sweetness.
Crumble in your favorite cookies such as Oreo or chocolate chip to add texture and flavor.
You can also drizzle in chocolate syrup, caramel sauce, or add a touch of vanilla extract for extra indulgence.
Serving and Presentation Suggestions
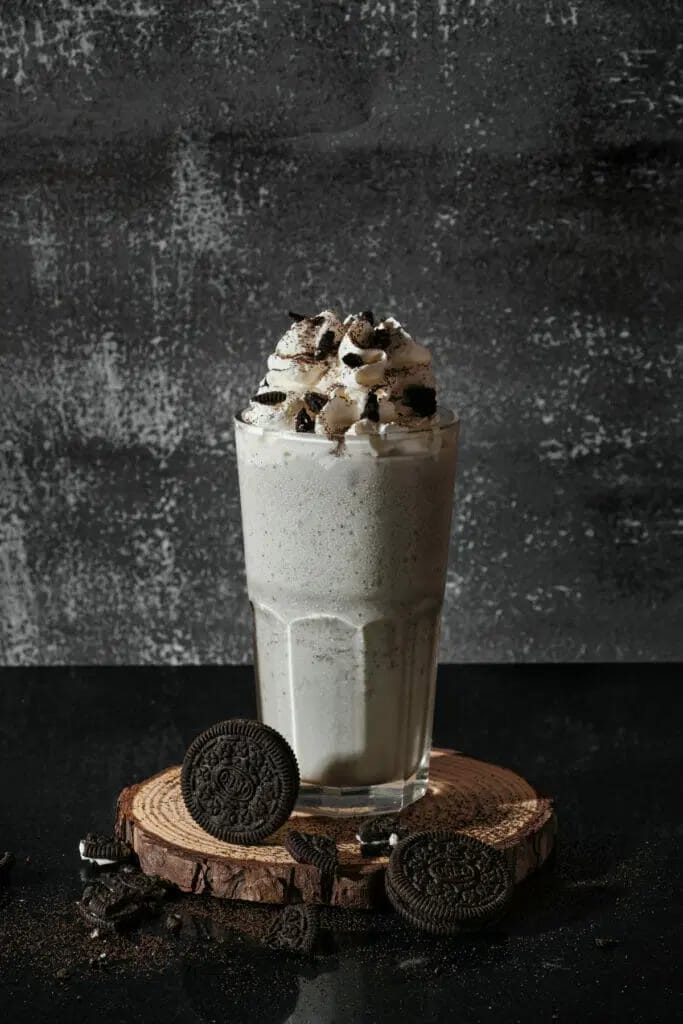
Make your milkshake experience even more enjoyable with these serving and presentation ideas:
Glassware and Garnishes
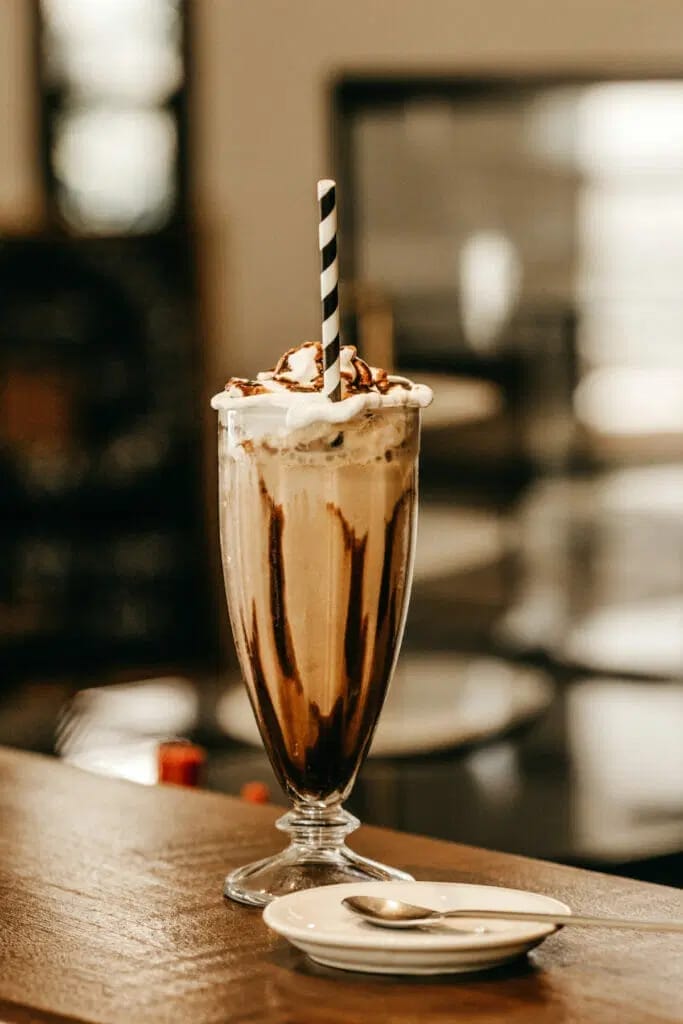
Serve your milkshake in a classic soda fountain glass or a mason jar for a nostalgic touch.
To add an extra element of charm, place a striped paper straw in the glass.
Top it off with whipped cream, sprinkles, or a drizzle of chocolate sauce for a visually appealing and Instagram-worthy treat.
Pairing Options
While milkshakes are fantastic on their own, they can also be paired with cookies, brownies, or other desserts for an extra special treat.
Consider creating delicious dessert combinations to satisfy your sweet tooth.
For example, enjoy a chocolate milkshake alongside a warm chocolate chip cookie or pair a vanilla milkshake with a slice of homemade apple pie.
Tips for Achieving the Best Results
Keep these tips in mind for the perfect milkshake.
Use Chilled Ingredients
To ensure a refreshing and cool milkshake, chill the ice cream and milk beforehand.
Cold ingredients will help maintain the desired temperature and consistency.
Adjust the Amount of Liquid
If you prefer a thicker milkshake, start with a smaller amount of milk and gradually add more as needed.
This allows you to control the thickness and tailor it to your preference.
Prepare Ingredients in Advance
To save time and ensure a smooth process, have your ice cream softened and any mix-ins or flavorings ready before beginning.
Softened ice cream blends more easily, and having the ingredients prepared in advance allows for a seamless milkshake-making experience.
