As an Amazon Associate, I earn from qualifying purchases. In addition, I participate in several other affiliate programs that allow me to earn while I recommend products I love.
You’re trying to bake something beautiful.
After scrolling through Pinterest, you have the perfect idea.
You bought everything you need to make beautiful chocolate shapes.
Now how to remove the chocolate from the molds?
It seems easy, but what if they break?
This article will tell you how to remove chocolate from molds successfully.
Follow these tips for perfect chocolate decorations!
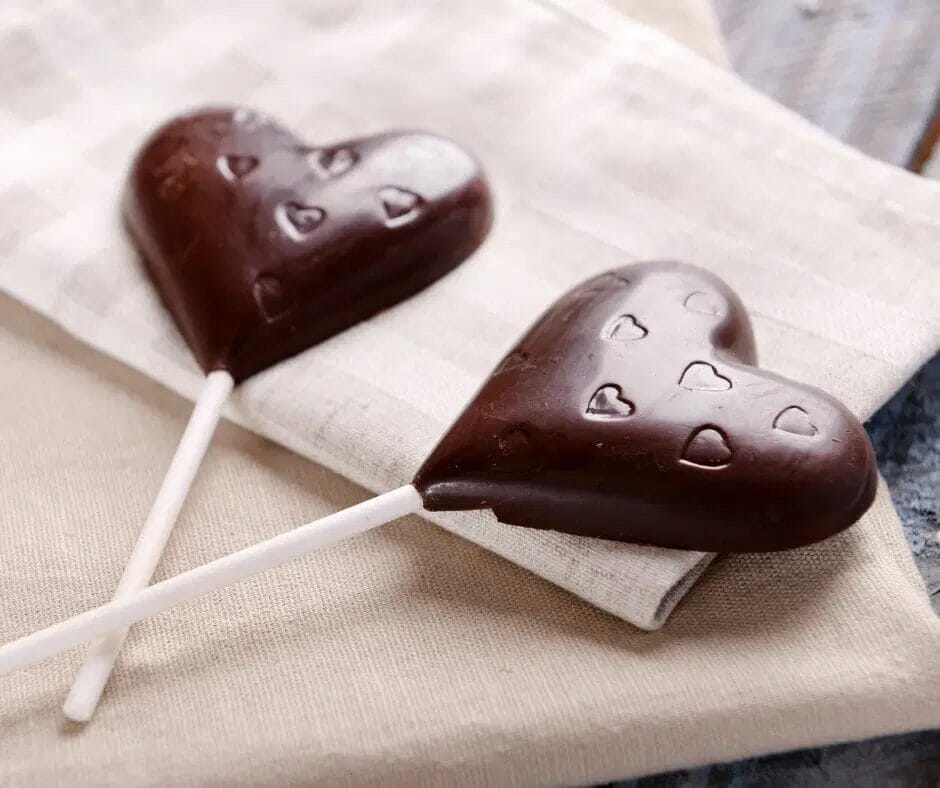
5 Tips To Easily Remove Chocolate From Molds
1. Tap The Mold
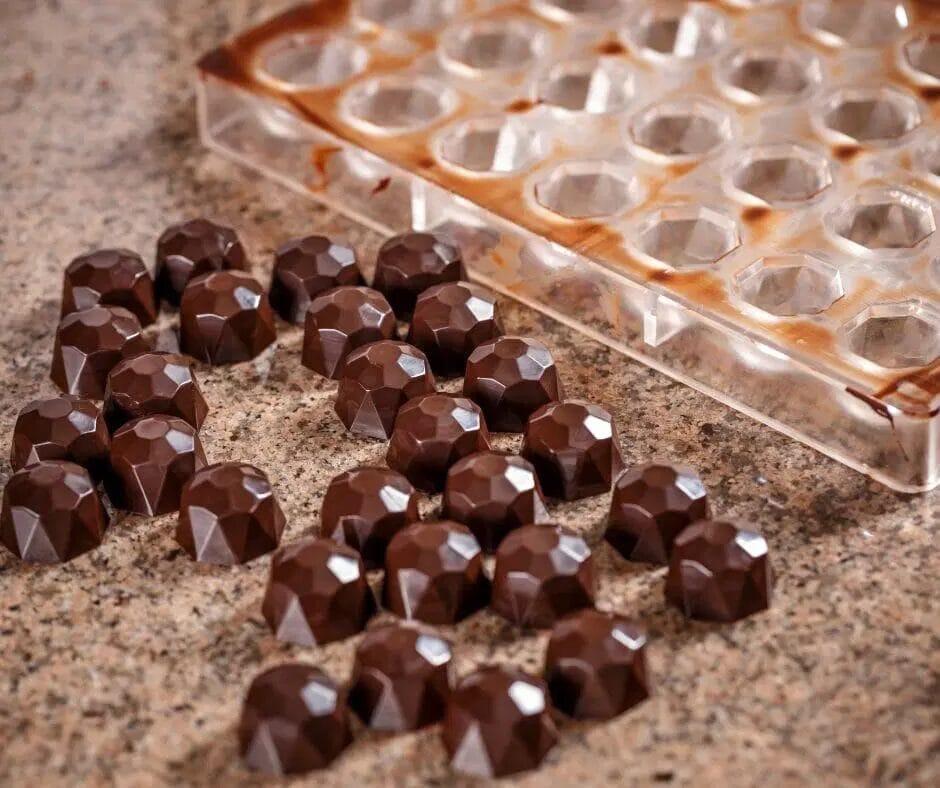
This method can be chaotic but often works well.
Tap the bottom of the mold to see if the chocolates fall right out.
If this works, it is probably the best method.
Make sure you have something soft, like a towel, beneath the chocolates.
This will decrease the chance of the chocolates shattering when they fall out.
This is actually a double tip.
You should also tap the mold before you let the chocolate set.
Holding the mold right-side-up, tap the bottom on the counter.
This will help to pop any air bubbles by encouraging the chocolate to fall to the bottom of the molds.
By removing air bubbles, you will be more likely to have complete chocolates.
2. Pull Them Out
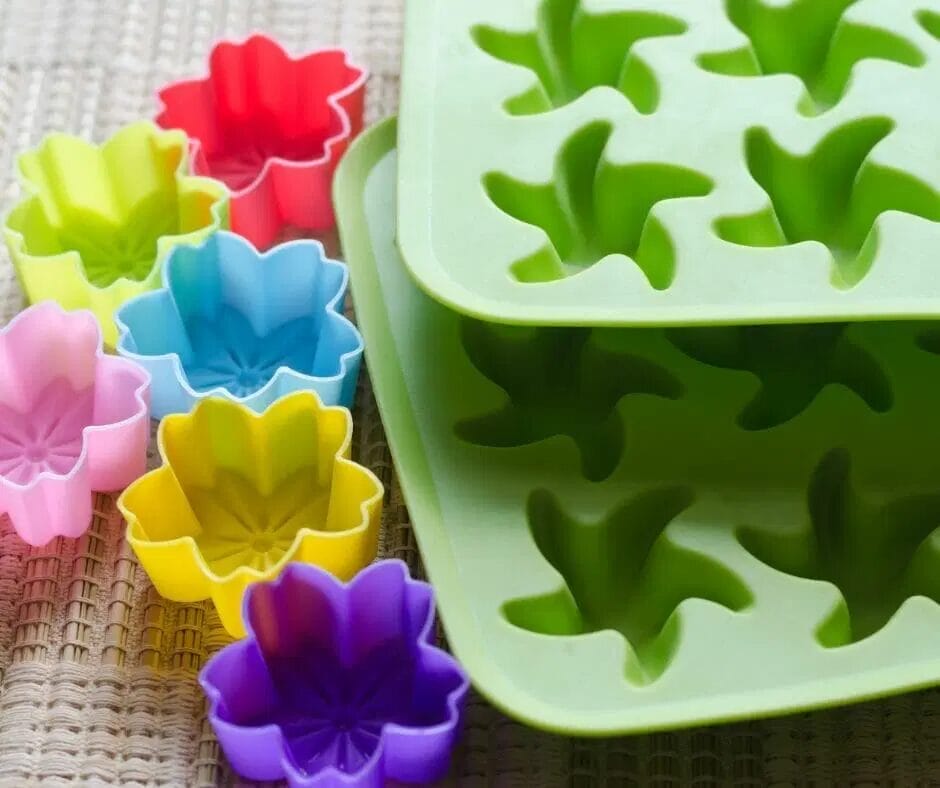
This is the easiest way to remove chocolate from molds.
But it isn’t necessarily the best way.
You can easily break the chocolate or scratch its exterior.
If the chocolates are thick and strong, this method may work.
Using a toothpick or any other small utensil, poke between the chocolate and the mold.
Work your way around the chocolate until it falls out.
You may need to use some leverage to make this work.
If that is the case, be very careful.
3. Stir The Chocolate Thoroughly
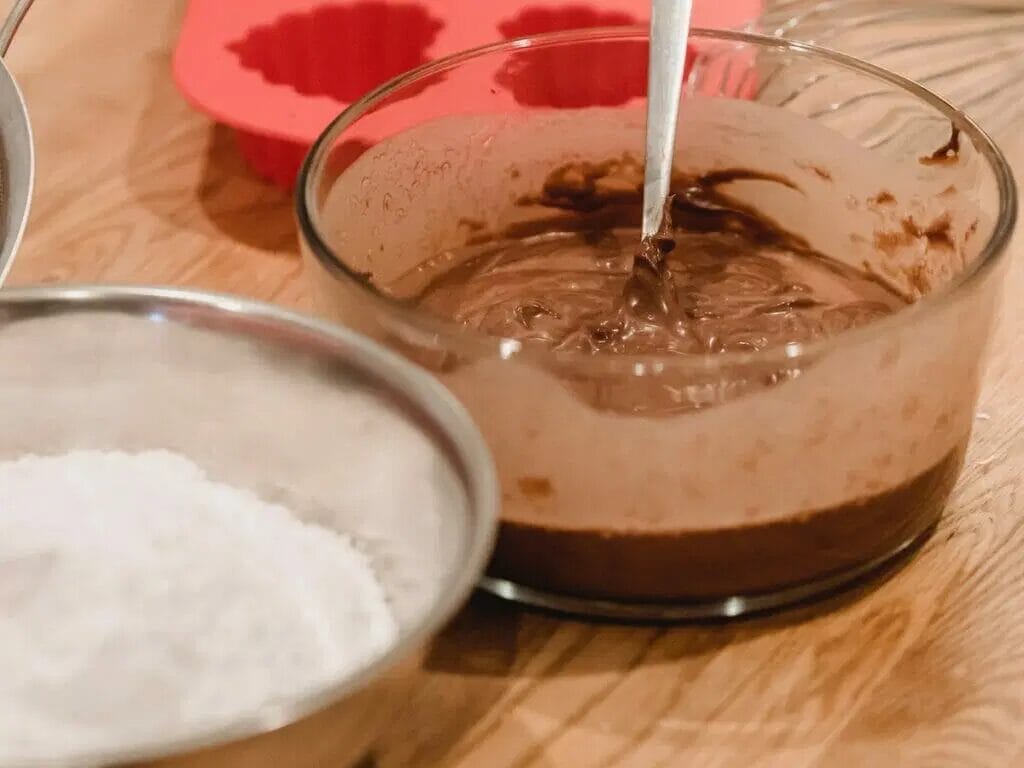
The better you stir the chocolate, the better it will work in a mold.
If none of your chocolates are coming out of the mold easily, it may be the chocolate’s fault.
When you melt the chocolate, some of the components will separate.
Stirring will bring them back together.
If you notice shiny specks in your chocolate, the fat has separated from the rest of the chocolate.
By reincorporating it, you will have a strong chocolate that will mold successfully.
4. Completely Cool The Chocolates
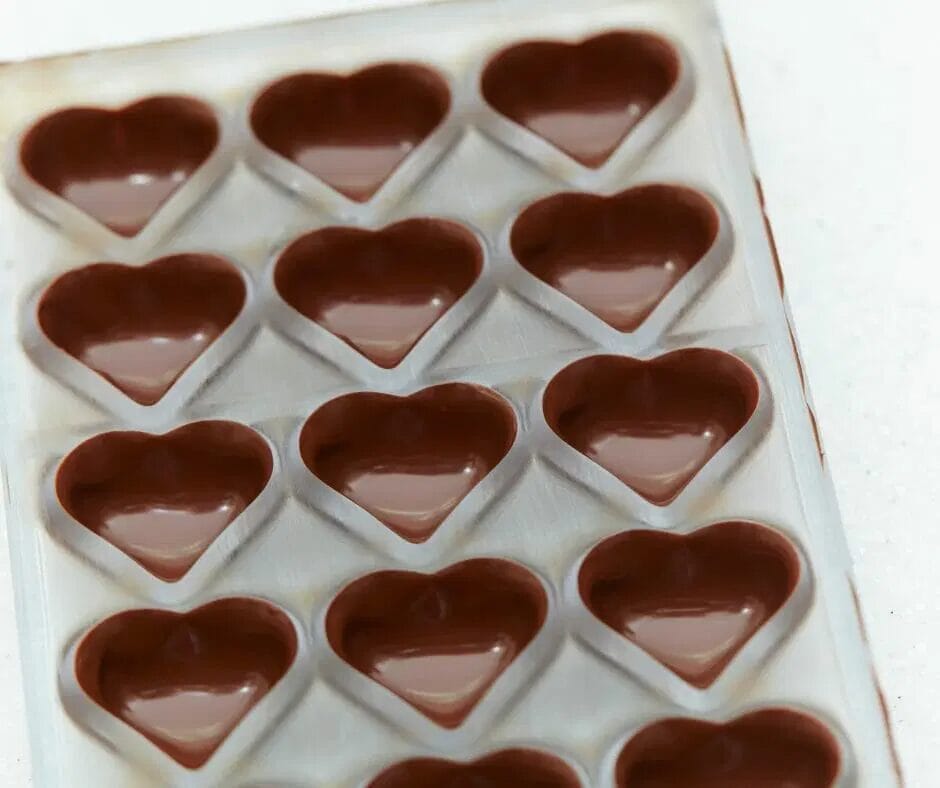
The longer you wait for the chocolates to set, the better.
The chocolates will become stronger as they cool.
If the centers are still warm and soft, they might collapse as soon as you touch them.
Even if you think they’re ready, it doesn’t hurt to wait a few more minutes.
Some people will even put their chocolates in the refrigerator or freezer.
This doesn’t always work out, though.
Freezing temperatures can create freezer burn or discoloration.
If you want to try this method, we recommend waiting until the chocolates have reached room temperature.
5. Use The Right Mold
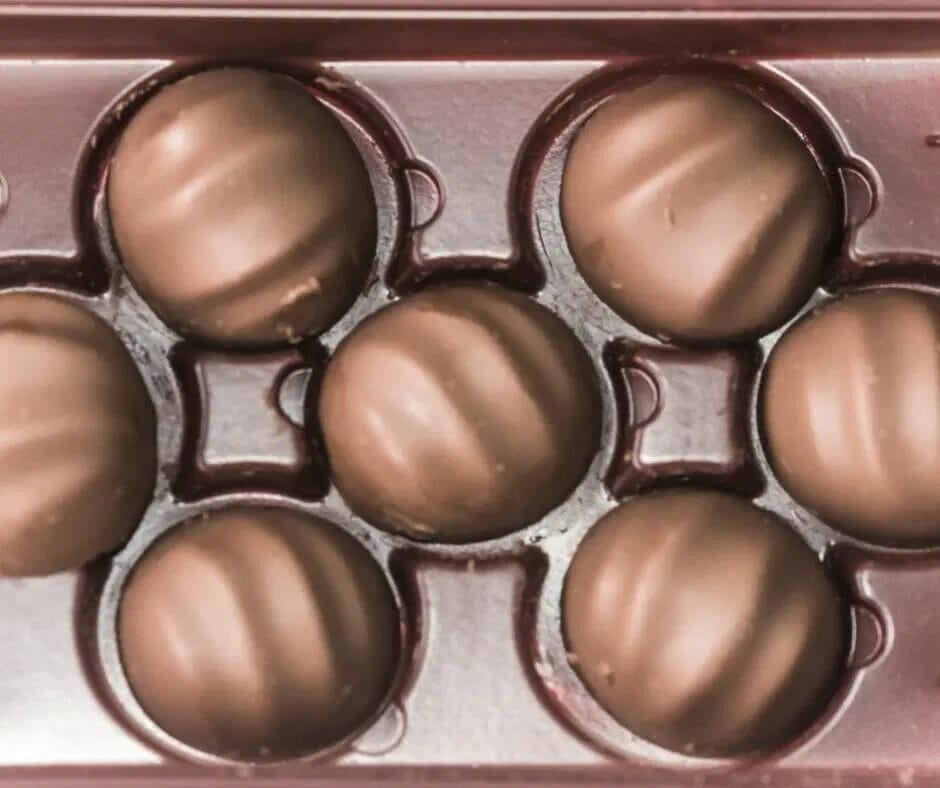
The right mold will ensure better results.
Not all molds are created equal.
Choosing the right mold may be the best way how to remove chocolate from molds without breaking.
Different materials may work better than others.
Maybe the mold you have would work better for cake than for chocolate.
Or you could be trying an impossible shape.
The more intricate the design on the mold, the more likely it won’t turn out perfectly.
If you’re wondering what the best chocolate mold is, keep reading.
We’ll discuss some of the main types of chocolate molds next.
What Is The Best Chocolate Mold To Use?
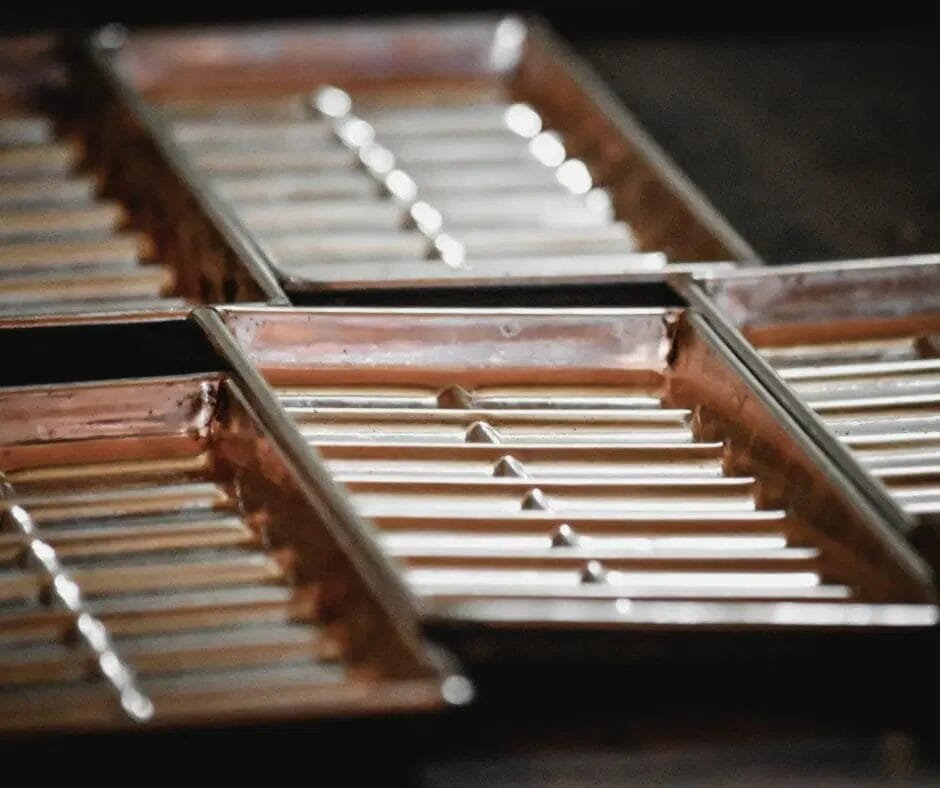
A clean and dry chocolate mold is essential for good molded chocolates.
However, it’s not exactly that simple.
There are so many molds on the market.
How can you choose?
We’ll look at the main types so you can make an informed decision.
Metal Molds
Historically, bakers have used metal molds for their chocolates.
This makes sense as metal was a common material to use when chocolate treats became popular.
However, these are best left in the past.
Metal molds are beautiful and interesting.
But a collector would be more likely to appreciate a metal mold than a pastry chef.
They can be hard to maintain because metal rusts.
They can be difficult to remove the chocolates from because they’re not very flexible.
If you have your grandma’s metal chocolate molds, you may consider using them.
But don’t expect the process to be easy-peasy.
Plastic Molds
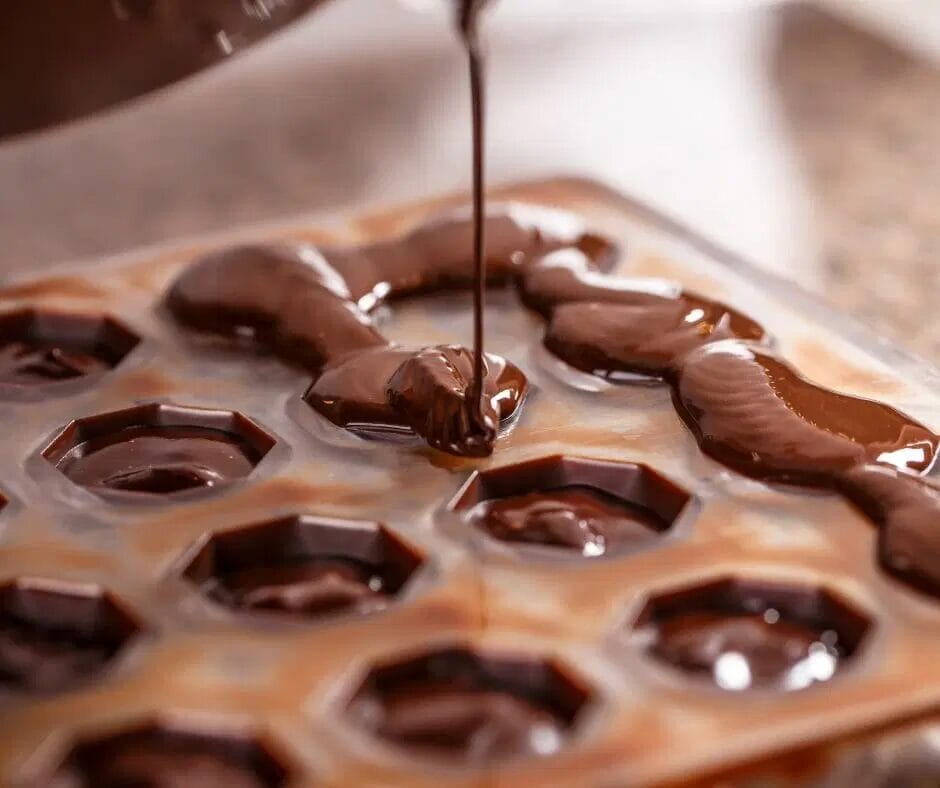
Plastic molds boomed in popularity when they started to replace metal molds.
The biggest selling point is their price.
They’re usually really cheap. This makes it easy to collect a variety of shapes!
However, they can also be pretty cheap.
They might crack after a while but generally stay intact for years.
There are some health risks associated with plastic when it touches food, especially hot food (like melted chocolate).
These risks may be minimal, but they are worth considering.
Since plastic molds are so sturdy, they can also be hard to remove the chocolates from.
There are thinner plastic molds that allow you to easily pop out the chocolates.
However, the thinner ones are also flimsier.
Silicone Molds
Silicone molds are the latest type of chocolate mold to come onto the market.
They’re fairly soft which makes it easy to pop out the chocolates.
But the softness also makes them flimsy.
This can result in more spills if you’re not careful.
It is also important to store silicone molds flat so that they don’t take on a new shape.
Silicone is a non-stick material so it is quite rare that the chocolate would stick to them.
Silicone is also able to withstand high temperatures.
So if your chocolate ever gets too hot, you don’t need to worry about ruining the molds.
You also don’t need to worry about any chemicals going from the molds to the chocolate.
Silicone molds can be pricey, but it’s possible to find them at affordable prices if you check sales.
If you want festive molds, look at the clearance section right after the holidays!
I would recommend using silicone molds if you can afford them.
They are well worth the money.
